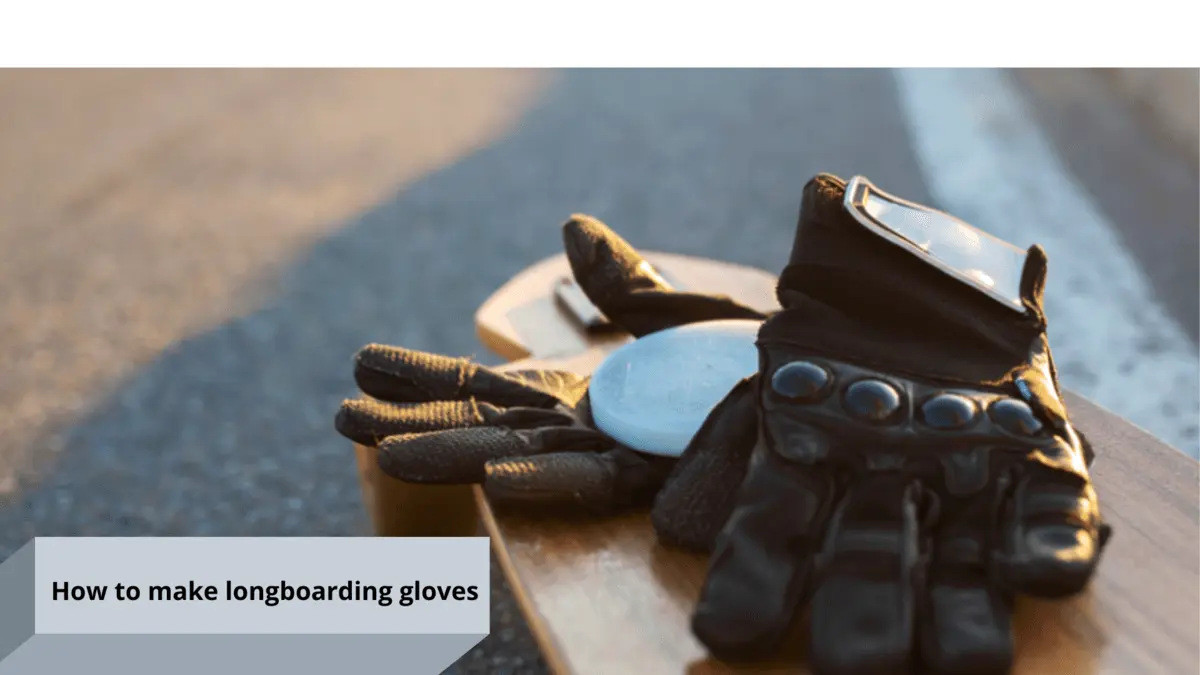
Longboarding is a risky sport where gloves can protect you from falling, sliding or foot breaking due to high-speed riding. But buying new gloves can cost a lot of money and time after the end of the year. However, you can save all that money and get sliding gloves with optimum safety simply by learning how to make longboarding gloves at home.
Luckily, the process we have mentioned is straightforward and requires easy-to-access tools and a minimum level of skill. So let’s make longboarding safe and affordable!
Tools required making longboarding gloves.
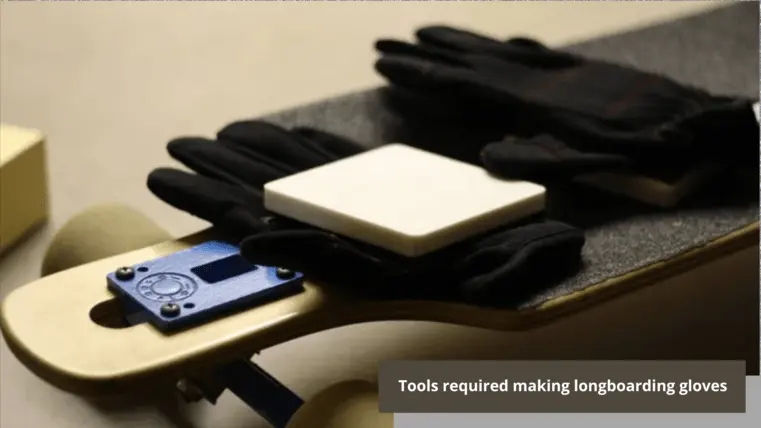 The essentials you will require depend on the type of longboarding gloves you make. And you can choose between a casual pair or a particular class based on the distance you have to ride and your budget.
Then we’ll teach you how to make affordable longboarding gloves using easy-to-access items. So the things you’ll require are:
Two pairs of gloves
You can collect one older glove to keep your hand from getting sticky and one new glove for DIY sliding. But if you have the budget, we recommend buying a set of gloves made of Ultra High Molecular Weight Polyethylene.
The most challenging material can withstand friction and chemical structure, making it perfect for longboarding.
Hack saw
If possible, collect a hacksaw from cutting out items. However, it will require some skill and care to operate the hacksaw as its blade is brittle and small cutting is slightly tricky.
Duct tape and cloth glues
You can choose any color tape as it will remain hidden on the gloves. But it’s better to select duck tape as it is sticky, weather-resistant, and long-lasting. Buy the spray adhesive type instead of the regular white glue for the glue.
The other essentials are:
- A plastic chopping board
- A clamp
- Normal pencil
- Clearly-marked ruler
How to Make Slide Longboarding Gloves – 6 simple steps
DIY slides and longboarding gloves personalize the rider’s style and increase the safety measures during riding. So follow these steps carefully to make high-quality longboarding gloves to boost style and safety:
1. Pick the right Velcro layout
Not all hook and loop strips are allowed to be sewn manually. So purchase soft hook and loop tape, which supports more flexible stitching materials.
You’ll also require Velcro to stick the puck to the gloves. But be careful with Velcro strips, as these can get the block to the sewing needle and shatter the fabric. It can also make the sewing process uncomfortable and difficult.
Cut the Velcro before attaching it to the slide gloves to avoid those difficulties. In this case, select a layout to support a strong bond. To handle this job quickly, cut long straight strips from the tip of the finger to the palm and from the end of the thumb to the palm. Cut five strips.
2. Secure the Velcro
You can secure Velcro to the gloves either by sewing or applying them. Gloves are a popular method as easy and quick to use. Conversely, sewing is a slightly trickier, time-consuming, yet more reliable method. Sewing keeps the Velcro attached to the gloves for a long time too.
If you are concerned about safety, apply both methods. It means attaching stripes to your DIY slide gloves with glue and then sewing.
A denim sewing needle is preferable to avoid bending and breaking issues with the sliding material during sewing.
The Velcro layout also requires lots of overlaps in the endpoint and proper fabric alignment. It would help if you also were careful with the threading process of the machine. So, before you start sewing, test the tension settings thoroughly using a heavier thread, designed Velcro, and snip.
3. Design the pucks
There are many fantastic shapes of bucks available online from which you can pick the desired shape. The simplest shapes to make are rectangular, round, and square. But determine the size of the pucks based on your gloves and hand size.
Be careful, as picking the wrong size won’t deliver your desired performance. So measure the dimensions of your fingers and palm and draw them over the material using a pencil. If you don’t have much skill, remove all the puck dimensions on the chopping board.
4. Prepare the pucks
If you are using a hacksaw for the first time, don’t forget to mark out the patio margin to cut the patch without causing any damage. Clamp the UHMWPE marked sheet firmly to the chopping board, following the drawn dimension.
Cut the material and smooth the edges using your hacksaw. You can also cut a few centimeters extra on the edges to have a decent trimming margin.
5. Attach pucks to gloves
Apply glue directly to the duct tape rather than to the longboarding gloves. And then, slowly apply the glue to the pucks. Wear old gloves while applying the sealant to protect your hands from glue residue.
Try to put the puck in the exact place of the glued duct tape. If you misplaced the pucks, gently remove them and place them in the same spot as it is vital for safety. You can also apply glue to prevent them from separating during cruising.
6. Complete glesov
Give some time to the picks so they can stick to the sliding gloves. The reason is that Ultra High Molecular Weight Polyethylene is stubborn to glue. Hold the gloves properly to prevent movement until the pucks attach to the gloves ultimately.
Then leave the gloves in a clean place so they can dry properly. Remember, becoming dry is vital for the rider’s safety as the gloves will contact the ground intensively during sliding rides.
Here are a few tips to follow while making your longboarding sliding gloves at home
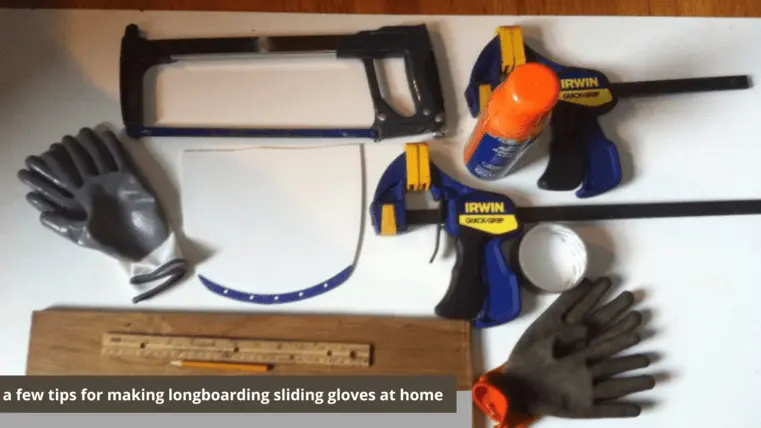 Though the guide is good enough to help you prepare safe and comfortable longboarding sliding gloves, following the tips will make the process more accurate and easier:
- Hold one side of the glove while sewing it. Holding two sides won’t let you get the hand inside.
- Don’t sew the glove; keep the hand inside.
- Use the things available at home to lower the overall cost.
- Don’t use any hockey pucks. Instead, make your sliding puck following the given instructions.
- Using fingerless gloves will be a waste of money.
- Spread double layers of glue to stick gloves and pucks together.
- Don’t stick gloves and pucks if the glue is too wet. Instead, wait a while and push the two things hard.
FAQ
1. Do you need gloves for longboarding?
Gloves are one of the must-have safety gears for longboarders. It helps the rifer slide without getting injured. Gloves also help during cruising and accidental falls.
2. How to choose the right slide gloves for the longboard?
Check the stretch panel of the gloves. You should choose sliding gloves that allow your hand to move naturally without any restrictions. Hands can also get sweaty during hot days and cause discomfort. So a pair of gloves with breathable holes or mesh panels will protect the hand from burning up.
3. What are the basic longboard basic gears?
Longboarding is one of the extreme sports where safety gets priority. That’s why the gears the rider uses are slide gloves, knee pads, Riser Pads, helmet, and bushings.
Final words
The typical sliding gloves can cost you up to a hundred dollars. Thus learning how to make longboarding gloves and preparing at home save lots of bucks. Despite sliding, longboarding gloves are something that you may need to change frequently based on your rides.
So it’s wise to learn the skill and make them at home whenever required with preferable customization. Finally, do some practice with a hacksaw to prevent messing up in the original operation.